I used to deploy my blog (yes, this blog, powered by Hugo) to [1] GitHub however, I hate the fact that it makes my page repository public and I have to pay in order to privatise it.
So, here it comes, the deployment switch to [2] GitLab took place. I referred to the tutorial available in Hugo website, [Hosting on GitLab Pages] and followed the tutorial with a slightly different approach.
Explained below are the steps I took in hosting my blog on GitLab Pages:-
cd hugo-site.gitlab-ci.yml file in the root directory of the Hugo site. As explained in the tutorial provided by Hugo,"The .gitlab-ci.yml configures the GitLab CI on how to build your page. Simply add the content below."
image: publysher/hugo

pages:
  script:
  - hugo
  artifacts:
    paths:
    - public
  only: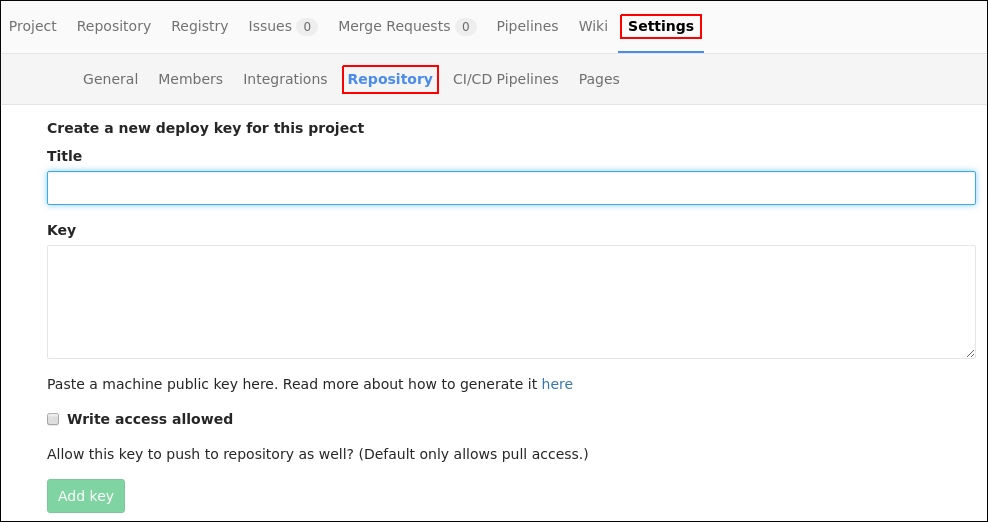
- masterGitLab which is not necessarily set to be available publicly. This is where the difference lies between the approach provided in Hugo tutorial and mine. In my case, I created a [3] GitLab Pages similar to the one provided by [4] GitHub Pages. Since I wanted my blog to be available at https://wraihan.gitlab.io, I created a repository with that name and assigned a SSH key [Deploy keys] to it;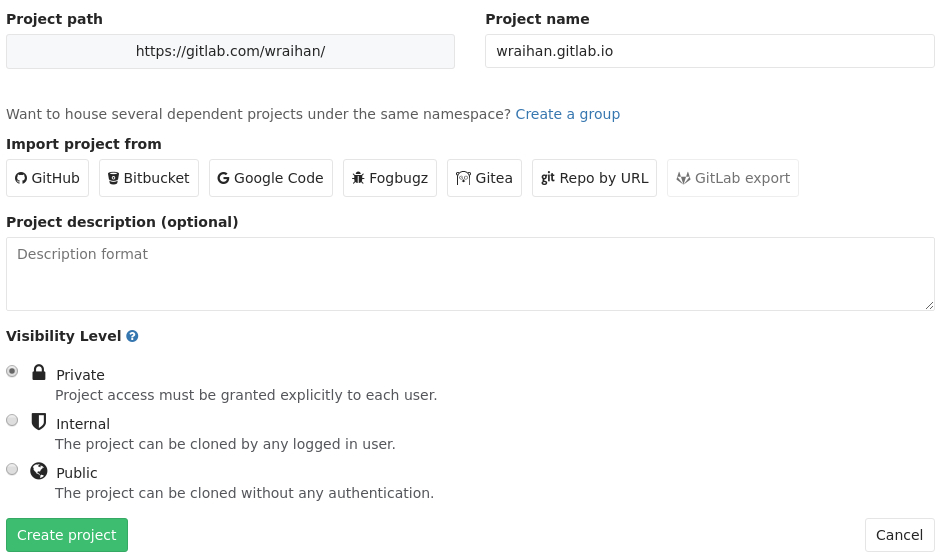
baseurl value in config.toml file with the website URL:baseurl = "https://username.gitlab.io/"hugo' where it will automatically create a /public directory andgit init.gitignore file as there is no need to push compiled assets to GitLab:echo "/public" >> .gitignoresubmodule for the theme:git submodule add git@gitlab.com:wraihan/wrase.git themes/wrasegit add .
git commit -m "Initial commit"
git remote add origin git@gitlab.com:username/username.gitlab.io.git
git push -u origin masterdeploy.sh with the following codes, which is adopted from [Hosting Personal/Organization Pages]:-#!/bin/bash
# Add changes to git.
git add .
# Commit changes.
msg="rebuilding site `date`"
if [ $# -eq 1 ]
then msg="$1"
fi
git commit -m "$msg"
# Push source and build repos.
git push -u origin master ./deploy.sh "commit message" ' to send changes to the created GitLab Pages repository.GitLab users and developers over the past few months.