Create A Custom Refresh Image on Windows 8.1
For The Recovery Partition
Microsoft made it compulsory for those who still use Windows 8 to upgrade the system to Windows 10 which was made available for free before 2018 for they will stop providing support for Windows 8 after this. Regardless, I rarely use Windows so I will just keep this writing posted in case it can be referred to later.When I first bought this Lenovo Ideapad in November 2014, it came with a bunch of… well, useless apps to me.
So I decided to remove all those useless apps and leave as well as install those that serve their purpose well for us, especially for my husband.
This laptop is dual-booting with Arch Linux that is used solely and mainly by me. I do not normally use Windows, but there are occasions where my husband needs to use this laptop. Obviously, the only OS he needs is Windows.
Since I love to mess up with this laptop by ‘instilling a great sense of geekiness inside me’, I had to create a custom recovery image which can be copied to a bootable usb drive.
Guided by tutorial from these two entries; Custom recovery image in Windows 8 and 8.1 [broken link] and Windows 8.1 – Unable to “Copy Recovery Partition” when building Recovery Drive?, I did the following things to prepare the system backup that I can restore in critical times:-
Firstly, I ensured that I had all the apps needed working properly.
Then, I created a
custom recovery imageby launchingCommand PromptasAdminand then run the following command:-cmdrecimg -CreateImage C:\RefreshImageAn imaged named
CustomRefresh.wimcreated by default thus resided in theRefreshImagefolder as per command.Once completed, I verified the created image with:-
cmdrecimg /showcurrentEverything went well, then I proceeded to the next step where I renamed the created
CustomRefresh.wimimage toINSTALL.WIM. Actually, this is not needed because I would register it asrecovery imageby putting the path to it with the step after anyway but for the sake of following the tutorial, I did this. Meaningless, I know.As mentioned above, I then ran this command to register it as
recovery image:-cmdREAGENTC /SetOSImage /Path C:\RefreshImage\INSTALL.WIM /Index 1The registration can be verified by running this command:-
cmdREAGENTC /InfoThe line where it says
Recovery image locationshould produce a long line output.Lastly, I created a
recovery driveon a usb stick with the box at the bottom reading ‘Copy the Recovery Partition from the PC to the recovery drive’ checked.
END.
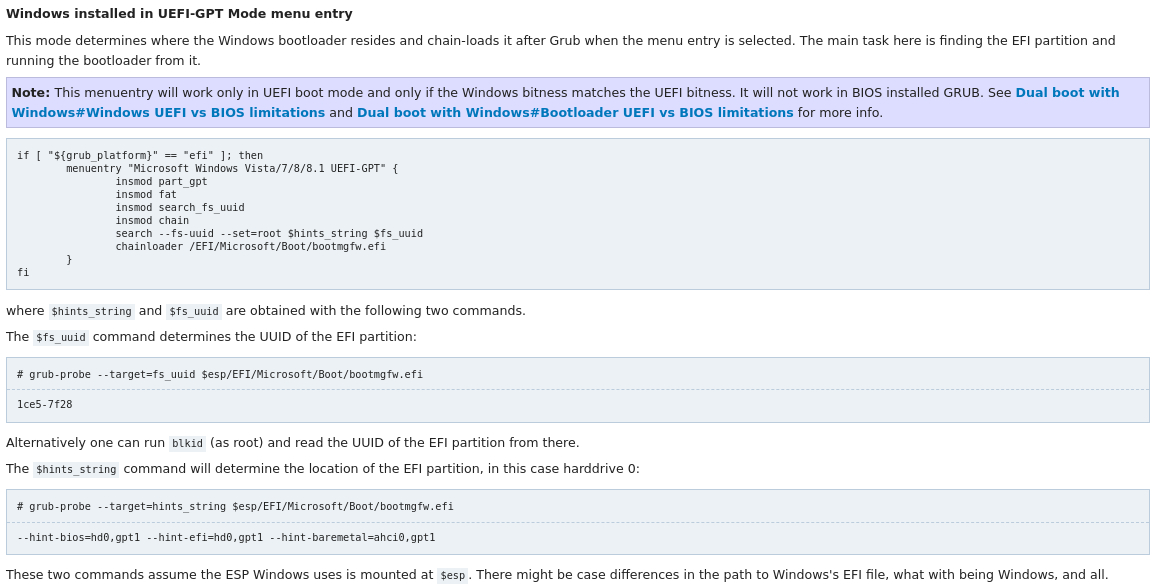
Grub2 Menuentry for booting Windows:-

Basically, it looks like the following:-
/boot/efi/grub/grub.cfgif [ "${grub_platform}" == "efi" ]; then
menuentry "Microsoft Windows 8.1" {
insmod part_gpt
insmod fat
insmod search_fs_uuid
insmod chain
search --fs-uuid --set=root --hint-bios=hd0,gpt2 --hint-efi=hd0,gpt2 --hint-baremetal=ahci0,gpt2 BA93-BCDC
chainloader /EFI/Microsoft/Boot/bootmgfw.efi
}
fi